In order for plants to grow properly, they must have access to regular water, sunlight, and a substrate or soil that provides them with all the necessary nutrients for their development. If we plant them in the garden in the right location, we already have a large part of the work done; but if we have them in pots… things get a bit more complicated, since that soil that we put on it will gradually become poorer.
However, we can do one thing so we don’t have to worry about anything: pay. With what? With one of the richest organic fertilizers there is: humus .
Index
- 1 What is humus?
- 2 What benefits does it have?
- 3 How to make hummus?
- 3.1 powder
- 3.2 Things you will need
- 3.3 Step by step
- 3.4 liquid
- 3.4.1 Step by step
- 3.5 When can it be done?
- 3.6 Tips
- 4 Buy earthworm humus: what is the price?
What is humus?

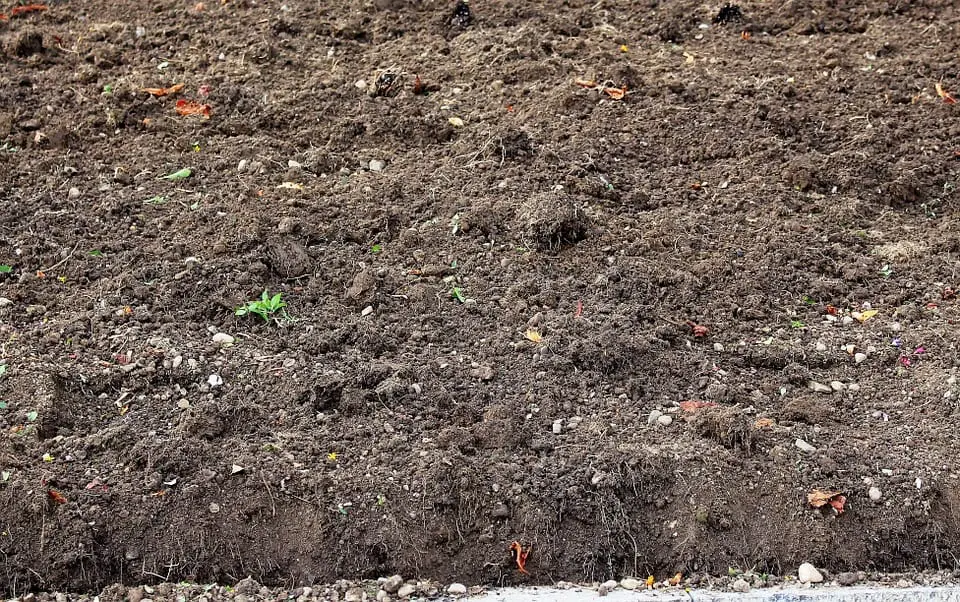
It is a fertilizer that emerges naturally in any soil in the world, which is nothing more than organic matter that has been attacked by bacteria and fungi that have almost completely decomposed it. The amount will depend a lot on the place; for example, on the sand of the beach it hardly reaches 1%, while in the forests it can easily reach 5%.
It is dark brown almost black, mainly due to its high carbon content. As it breaks down, it provides such important plant nutrients as nitrogen , phosphorus , potassium , and magnesium .
Which has benefits?
Its benefits are multiple and varied, and are:
- It provides nutrients to plants , which is extremely important for them, since in this way they can grow and develop in the best possible way.
- It improves the soil , so that if it is very compact it becomes a bit sandy, and vice versa.
- Plant roots can assimilate it well and quickly.
- It doesn’t smell bad or rot .
How to make hummus?
Powdered

things you will need
The fastest way to get a natural fertilizer and as interesting as this one, is by making earthworm humus. To do this, you will need:
- Worms: it is recommended that they be the Californian red ones, although those that you can find in the garden in dark corners, growing near pruning remains or in shady areas are also useful.
- Container: that is not made of metal, and that has a lid and holes in the base so that they can breathe. It is important that it is wider than it is tall so that the worms can be as comfortable as possible.
- Food: for worms, such as paper, cardboard, leaves (green or dried), fruit and vegetable peels, bread.
- Diary paper.
- Some garden soil.
- And of course water.
Step by Step
Once you have everything, it will be time to prepare what will be the “little house” for the worms, at least for a season. Follow this step by step:
- Cut thin strips of newspaper, and place them in the container. Go putting strips until they form a layer of about 2.5cm.
- Now, add a little water but without soaking them. You can help yourself with a sprayer to better control the amount of water you pour.
- Then, throw a layer of about 2cm of soil, and introduce the worms.
- Next, cover the container with its lid, and place it in a cool, shaded area.
- After two days, since they have probably eaten all the paper, you should start feeding them the food mentioned above.
You will know that your humus is ready when you only see the compost itself, which will look like dirt.
Liquid
The liquid worm humus is the product resulting from the digestive transformation in the form of excreta . To do this, you have to use a container, you must use a vermicomposter at whose base (on the outside) you have to place a plug, which is where the liquid will come out.
Another option is to make a homemade vermicomposter , for which you will need:
- 3 plastic boxes with lids (or more, if you want it to be taller)
- A tap
- Screws
- Piece of anti-weed mesh
- Drill
Step by Step
Now that you have everything, it’s time to get down to work :
- Place a box without a lid on top of another that does have a lid on it.
- Make 4 holes with the drill so that it pierces the top box and the bottom box lid and insert 4 screws to join them.
- Repeat these steps to join the top box to the bottom box.
- In the last box, the one that will be the base, you have to make a hole, and insert the tap with a rubber band, and put the thread on it. Put the anti-weed mesh on it to prevent them from drowning.
- Make some holes in the boxes so that the worms can go from one to another.
When can it be done?

You cannot make this humus at any time of the year. Earthworms are sensitive to cold, so trying to do it outside in the fall or winter is not advisable. The ideal is to wait for spring or summer , which is when the temperatures are much more pleasant.
Still, if you don’t want to wait, you can always place the container indoors, in a room with little light.
Tips
If it is the first time you are going to do it, it is likely that you have many doubts about how many worms to put or how big the container should be, right? It’s completely normal. But don’t worry, here are the answers:
The number of insects you should put in will largely depend on the size of the container. For example, if you have one that measures about 50cm long by 10cm high, and taking into account that adult worms can measure up to 10cm, you can put about 10-15 and they will be able to live well, that is, they will not be forced to “compete” for food.
When will the hummus be ready? The more worms you have, the less time it will take for you to use the compost for your plants, but it is generally recommended to wait between 6 and 9 months.
Buy earthworm humus: what is the price?

If you don’t want to wait that long, you can choose to buy worm castings. Its price is really very cheap, being able to cost around 15 euros for a 20kg bag, or 5 euros for a 500ml bottle.
So now you know, if you are looking for a natural and nutrient-rich fertilizer, this is for you.