
Many of the people who start in the world of agriculture, start with seedlings because they are much easier to grow and more comfortable. However, planting seeds has many advantages, and beyond reminding you to follow the package instructions to the letter, it is also important that you follow these tips to make a seedbed for tomatoes.

Solanum Lycopersicum, also known as tomato, is a plant belonging to the family of nightshades of American origin, which is grown worldwide because its fruit, the tomato, is edible. The seeds should be planted in a tomato seedbed in mid-February, and after two months in the pot. This plant can be grown in spring or summer.
The tomato seedbed can be made of paper, plastic, pressed peat, peat, etc. Each of them has pros and purchases.
- Paper seedbed: it is cheap, biodegradable, and can be transplanted together with the seedling.
- Plastic Seedbed: Helps keep moisture, but drainage is not good. It is reusable and cannot be transplanted next to the seedling.
- Pressed peat seedling: it takes up little space, has good drainage, is transplanted together with the seedling, is biodegradable, and does not require a substrate.
- Peat seedbed: it is biodegradable, allows transplanting together with the seedling, and is less economical than paper seedlings.
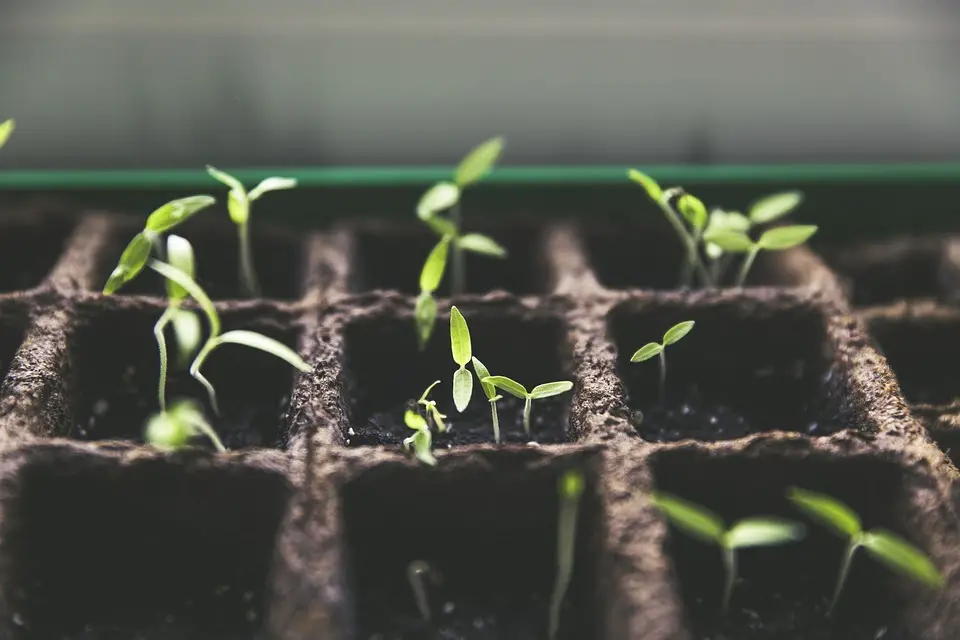
How to make a tomato seedbed

Although tomato seeds contain the nutrients they need to sprout, a good compost would do just fine. Loves rich, well-drained, and aerated soils, to avoid the appearance of parasitic causes. The ideal mixture would be compost and vegetable substrate, coconut fiber, and perlite.
Dampen the substrate before proceeding to fill the seedbeds so that there are no dry areas that could prevent germination. Fill the seedbeds with this substrate, leaving approximately one or two centimeters free to the edge. Press very well with your fingertips and place one to three seeds on the substrate.
Put a thin layer of moistened substrate on top covering the seeds and water. If possible, use a sprayer. The key to proper germination is to keep the substrate moist. To do this, you will have to use the greenhouse cover and spray frequently.
The seeds of tomato do not need light to germinate. However, when the first leaves appear, they will need approximately 12 hours of light per day. If necessary, complement with artificial light.
Once the seeds have germinated, good ventilation will be more important than a humid environment. In case the greenhouse cover does not have ventilation windows, you will have to remove it when the tomato seeds have germinated. When the first leaves emerge, add a small dose of liquid fertilizer to the irrigation water.
How to transplant and when to harvest?

Fill the final pot with a mixture of coconut fiber and earthworm humus in a ratio of 60-40 percent and moisten with water. Make a hole with your fingers or with the help of a pencil the size of the seedbed and place the seedling. Remember to use a knife to separate the seedling from the rest of the substrate and avoid damaging the roots.
Take the seedling from the leaves, never from the stem because it can be easily damaged. The harvest of tomato after start two to three months after transplantation depending on the variety.
Parasitic causes
- Trips
- Caterpillars
- Red spider
- Whitefly
- Aphid
- Leaf miners
- Worms
- Potato beetle
- Nematodes
