
For many species, being cold for a few months is vital. Without it, they could hardly germinate and, if they did, their germination rate would be very low. When you live in an area with a temperate climate, where temperatures in winter remain between a maximum of 10 and a minimum of -6ºC (or lower), you can choose to sow the seeds directly in the seedbed and leave it out in the open to let nature itself be in charge of ‘waking them up’; Nevertheless… the situation is complicated when the weather is warm or mild throughout the year.
For this reason, I am going to explain to you how to stratify seeds step by step. Do not lose detail.
What I need?

Ginkgo biloba seeds
The first thing we have to do is prepare everything that is going to be used. When you are going to artificially stratify seeds, that is, in the fridge, you need:
- Tupperware with lid: it is recommended that it be transparent in order to have better control of the seeds.
- Label: where you will put the name of the species and the date on which they proceeded to stratify them.
- Fungicide– Whether natural or chemical, the fungicide will prevent fungi from damaging our future plants.
- Substratum: I advise using a porous one, such as perlite or vermiculite. The seed itself will be in charge of feeding the seedling until the cotyledons (the first two leaves) fall off, so the substrate in this phase will only be used as an anchor.
- Seeds: of course, they cannot be absent. To know if they are viable, it is advisable to put them in a glass for 24 hours, so the next day you will be able to know which ones will in all probability germinate, discarding those that remain floating.
Step by Step: Stratify Seeds
Now that we have everything, it is time to start stratifying the seeds. For it, we will fill the tupperware with the chosen substrate. I have chosen to do a little experiment: I have filled it almost completely with volcanic clay (in the form of gravel) and I have added a thin layer of black peat.

Here you can see better:

And now, the mob:

Finally, we have plant the seeds. As in habitat the earth and / or leaves would end up covering them, it is convenient that we do the same:

What would never happen in a forest is for someone to apply fungicide , but in cultivation we are interested in getting at least 90% of the seeds to germinate, so we will have no choice but to give them a preventive treatment. As you can see in the image above, I have added a pinch of fungicide powder (as if you were adding salt to the salad).
Then, we mix everything well and water. As the tupperware do not have holes, I advise you to water little by little to avoid accumulating too much water at its base (If this happens, it is convenient to discard it). And now, to put it in the fridge:

We do not know what your family will think of having a tupperware with seeds in the fridge (yes, my family has also looked at me strange. In fact, they have asked me the classic question “again?” ), but they will surely be surprised when they see the awakening of a new plant.
But our work does not end here. For 2-3 months we will have to check, at least once a week, that the substrate has not dried. Nor can we forget to open the tupperware for 5-10 minutes so that the air is renewed and thus avoid the proliferation of fungi.
What happens if fungi appear?
These fungus companions are very harmful to plants. Usually, when they show up, it’s too late to do something. Hence, it is so important to do fungicide treatments from day one.
If you see fungi in your tupperware extract the seeds and give them a bath with chemical fungicide. Clean the container well and throw away the substrate. Only later will you be able to sow your seeds in it again, with new substrate.
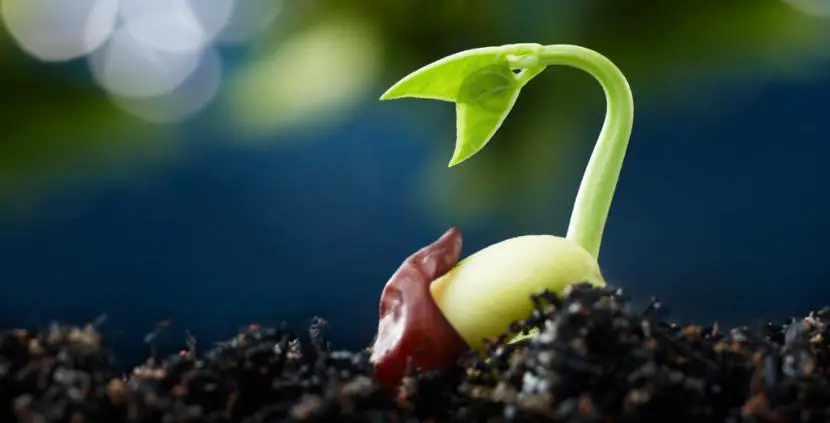
Usually there are usually no problems. In fact, you should know that if the seeds are in a hurry to germinate, it is very likely that they do it in the tupperware. In the event that this happens, carefully remove it from it and plant it in a pot.
Artificially stratifying seeds is very easy and very useful when the weather is mild.
