
We are only a few days away from Halloween and that is when many begin to think about carving a pumpkin, since this way they make sure that they will stay perfect for that day. But, how to carve a pumpkin?
If you are thinking this year of decorating some pumpkins made by you, then we are going to give you the keys so that you can design it without breaking or having to buy another type of decoration.
What is the most important thing when carving a pumpkin

It seems easy. But it really is not. Carving a pumpkin is an activity that must be done with patience and taking care when cutting the area of the eyes, the mouth, etc. especially if you want to put a lot of details on it.
However, there is one thing you may not know, and that may be the mistake you often make: the type of pumpkin you buy. Did you know that two types of pumpkins are sold in the market? Well yes, one to eat and one to carve.
The problem is that, if you look at them, in stores they do not differentiate one from the other, they stack them all in the same basket and that’s it. But actually those that are used for carving are those that do not have a symmetrical rounded shapethat is, they are not so round. In addition, they are much larger than those that are intended to eat.
There is another difference between carving and eating pumpkins. And it is that the first ones have thinner walls and less filling than those that are to eat.
So, if you are going to buy a pumpkin to carve it, try to choose the largest copies and that do not have a rounded shape, but rather flat. Hopefully, you will choose a specimen that you can use to carve.
Yes, check well that there are no soft areas around the pumpkin because it will be a sign of rot and then it will not last long carved.
How to carve a pumpkin

Now that you have the pumpkin that will become your Halloween decoration, you have to create that “monster” that will scare everyone. But what do you need to carve? Just a knife and a knack for doing it? The truth is that no.
A knife is not going to give you the control you need, especially when carving the pumpkin’s mouth and eyes. But there are tools that will help you: those of sculpting clay. They are the best for this activity and you can find a fairly functional kit for little money. Of all the tools you will need.
That does not mean that you cannot use others, you can also, for example, a scalpel, wood gouges, jigsaws, shovel drills …
The important thing is to get yourself some good tools because, although the next step is easy and does not require much, the carving will be better if you use the right tools.
How to open the pumpkin
The next step once you get the necessary tools is going to be to open the pumpkin. As a general rule, this is opened at the top, to create a kind of lid. For this, what you have to do is cut a more or less perfect circle to scoop out the top of the pumpkin.
Now, you could also do the same from the bottom. It will depend on your tastes to do it from above or below.
The reason to open the pumpkin is to empty it, and this is the only way to do it. So once you can access the interior you will have to use a shovel, spoon or similar to remove everything that is inside and leave it empty. Of course, do not scratch the walls too much, since, as we have said before, these are thinner and you could break them if you are not careful.
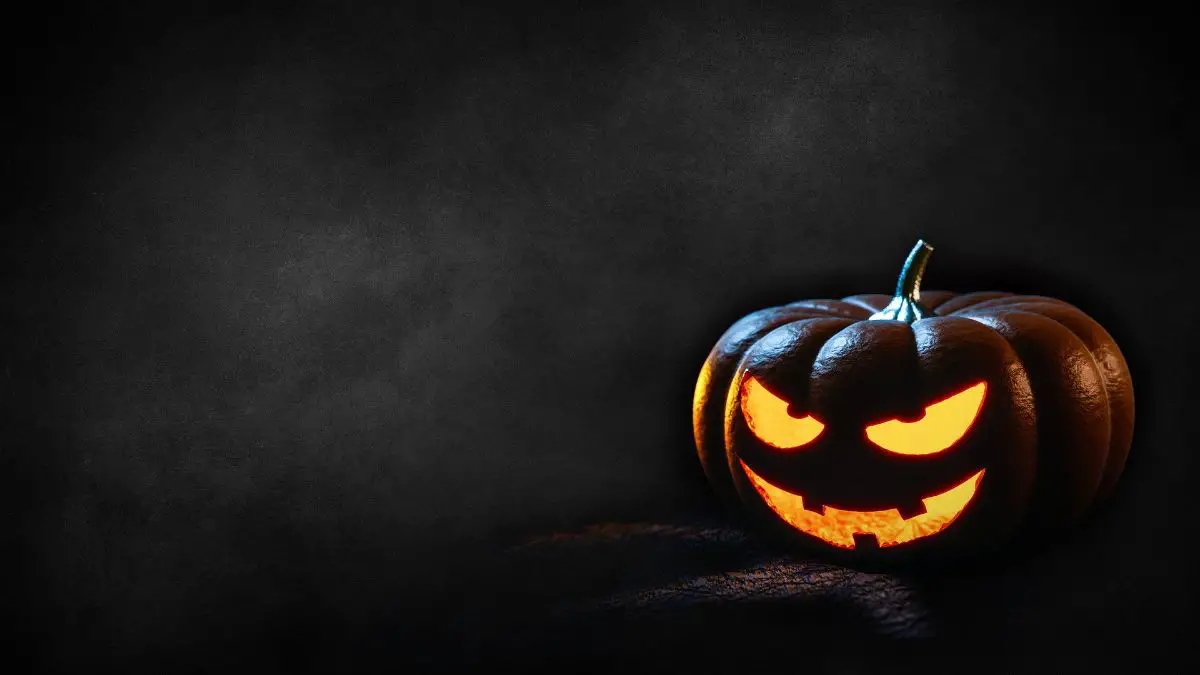
How to draw monster pumpkin face
When it comes to carving a pumpkin for Halloween you know that one of the most important things is achieve a scary face. And that implies that you can put the eyes, nose and mouth that you can think of. But you could also use templates.
These will help you cut out the silhouette of the mouth and the eyes and nose with a jigsaw or wood chisel.
It is the most complicated process because, a bad posture, a cut that you should not, could end the result you were trying to achieve. So arm yourself with patience to do so.
If you do it right, you will already have your pumpkin and the only thing that will be missing is that you think about placing a candle inside it or maybe some led lights so that it lights up and at night it looks scary.
How to make pumpkin last longer

You already have your Halloween pumpkin carved and prepared for decorate your home. Unfortunately, in that state they only last a few days, hopefully weeks. Do you want to extend the life of the pumpkin? Well it can be done.
In fact, there are several ways to lengthen the time of the pumpkin. We tell you some of them:
- Open it from the bottom instead of the top. As we have explained before, the pumpkin is traditionally opened at the top to create a kind of lid. However, it is increasingly common to do it from below. Why? Not only because this way the aesthetics of the pumpkin is better preserved, but also because it prevents moisture from accumulating in the lower part, which is what causes it to rot faster.
- Spray it with bleach. Just when you open it, and after having emptied and carved it, you should spray it, both inside and out, with bleach. Let it dry because, during that time you will be killing all the bacteria that it may have (and that are the culprits of mold).
- Spread petroleum jelly. Another option is to use petroleum jelly to protect the cuts you have made, although we recommend that you smear it completely, both inside and outside of it. This will prevent the pumpkin from losing moisture and deteriorating later.
As you can see, carving a Halloween pumpkin is very easy, you just have to go slowly when making the mouth, eyes and nose and work with the right material, both the pumpkin and the tools. Have you ever carved? Do you have any advice for others for the first time?
