
If you like crafts and get yourself an object that is resistant, then put on the gloves that in this article you are going to learn how to make cement pots. The plastic ones, although they are specially designed to withstand the inclemency of the weather, in the end after a few years they also spoil, and taking into account that plastic is a material that takes centuries to decompose, well what better than to make our own cement pots? These will last … and will last …
Would you like to know what you need to make these sturdy pots? Well, we will not only tell you that, but also we will explain step by step how to do themhere is your guide.
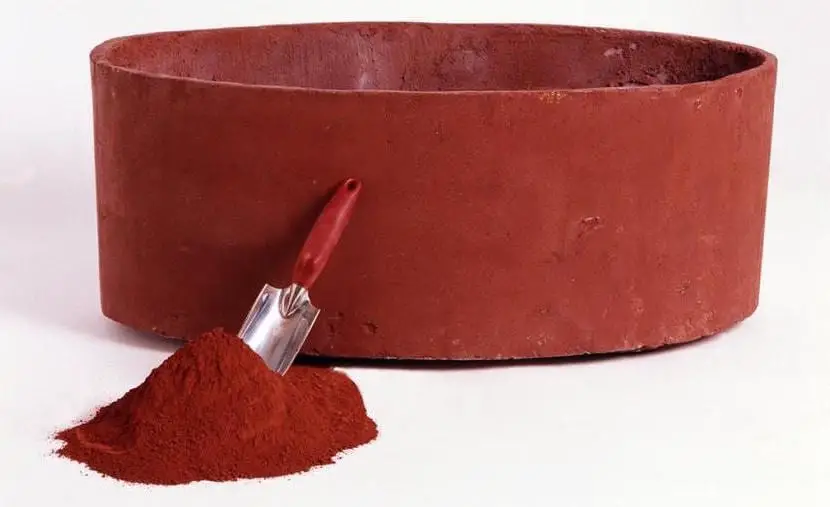
Materials you need to make cement pots
Before starting to make them, it is important to prepare beforehand all the material that will be needed so that, in this way, the work is easier and, incidentally, save a little time. Having said that, you should prepare the following:
- 2 plastic containers that have the same shape, one being larger than the other.
- Nonstick cooking spray
- Gloves
- Portland cement
- Construction sand
- Large plastic sheet
- 2,50cm PVC tube
- Spatula
- And, if you do not like gray, you will also need cement color
Step by step to make cement pots

Now that you have everything, let’s move on to the most interesting part: making the cement pots. The first thing to do is coat the outside of the smallest container and the inside of the largest with non-stick oil. Then follow this step by step:
Step 1 – Make the drainage holes
Any special pot for plants worth its salt must have its holes so that the excess irrigation water can come out. Thus, we must proceed to cut from 2 to 4 pieces of PVC pipe with a height of at least 2,50cm.

Related article:
Step 2 – Prepare the cement mix
How to make the cement? In the following way: with the gloves on, you have to mix 3 parts of sand to 1 of cement with a little water in a basin or in a separate bucket. As the amount that is going to be needed to make the cement pot is rather small, you have to pour the water slowly to avoid being too watery. At this point you will have to add the cement color if you wish.
Step 3 – Making the mold of your concrete pot

Once the pasta is done, you have to pour it into the largest containerbut only the right amount so that the smallest container can fit without problem (about 5cm). The pipes that will make the holes for the drainage have to be placed now, taking care that they are not covered by the cement.
By the way, if you don’t want the tubes to show, spray with non-stick oil before placing them. Thus, when the cement pots or planters are already made, you can easily remove them.
Step 4 – Place the small container inside the large one
With extreme care, you have to place the small container inside the large oneapplying a little downward pressure.
Step 5 – Add more cement
To finish with the mold, you must add more cement between the large and small container. Insert the spatula in it so that it fits well.
Step 6 – Remove the small container
Now that everything is almost done, we have to wait 24 hours so that the cement begins to harden and set well. After that time, you have to wet the cement pots a little with a sprayer with cold water, and remove the small container.
Step 7 – Remove the large container

The large container is the one that holds the cement pots and, therefore, is the most difficult to remove. To do it without problem, you have to cover it with a large piece of plastic, and wet it with cold water so that the cement stays wet for a week.
After seven days, remove the plastic and turn the pot upside down. Now, tap the plastic containerboth on both sides and at its base. Then you can remove the container, and you can see how your cement pots have been.
Plastic containers must be well cleaned, since they can be used to make pots home.
Cement pots are very resistant and very easy to make. With a little patience, our plants can be in pots that do not require any maintenancesince they will withstand inclement weather. Without a doubt, it is worth waiting a week to have a much more personal patio or terrace, don’t you think?
How to paint cement pots?
You can even make drawings on your pots once they are finished, using synthetic enamel which also resists humidity very well. If you don’t have much experience or it happens to you like me that I don’t know how to draw, I recommend that you get a plastic mold for crafts; so you only have to paint.
What do you think? Do you dare to make your own cement pots?
2 thoughts on “How to make cement pots? Find out step by step”