
As many of you already know, there are different methods of multiplying a vegetable. A rather curious one is the graft. With this technique we can get several species to sprout from the same plant, as long as they belong to the same genus, of course. It is a good option for some fruit trees, such as fig crops. But how to graft a fig tree?
In this article we will answer this big question. explaining step by step how to do it. In addition, we will say when is the best time of the year to carry out this task, so that we are successful with the result. So if you are considering grafting a fig tree, I recommend that you keep reading.
What is a graft and what is it for?

Before explaining how to graft a fig tree, we will first explain what this technique is and what it is used for. This method is based on using a piece of a plant and joining it to another so that, once grafted, they form a single plant. The part that we have grafted on a certain plant merges with it and manages to obtain nutrients through it. It is generally done to improve the characteristics of the plant by increasing its resistance and/or improving its fruits or its production.
For a graft to be successful, it is essential that the cambium of both plants come into contact, which is the green inner part that is found under the bark. It is a very thin layer of cells. The cells responsible for creating vascular tissues are produced in it, through which the sap with nutrients and water end up circulating. Through the production of this new tissue made by the cambium, both pieces of the plant will be able to weld together.

Related article:
What are grafts and what are they for?
It should be noted that it is also necessary for the variety to be grafted to have a compatible rootstock for the union to be successful. It is for this reason that grafts must be carried out between species belonging to the same genus. Even so, there are some exceptions in which species of different genera have been able to be grafted, although they have always been related. For example, it is possible to graft the pear tree (belonging to the genus Pyrus) in the quince (of the genus Cydonia). Other species that accept grafting between them are the pistachio and the terebinth.
It should be noted that there are different types of grafts. These vary mainly by their method of implementation and some may be better for certain plants than others. Carrying out this technique well, you can get really spectacular trees, the most famous being the frankenstein tree. This curious specimen was created by an American arts teacher named Sam Van Aken and produces 40 different types of fruits belonging to the genus Prunus.
How to graft a fig tree step by step

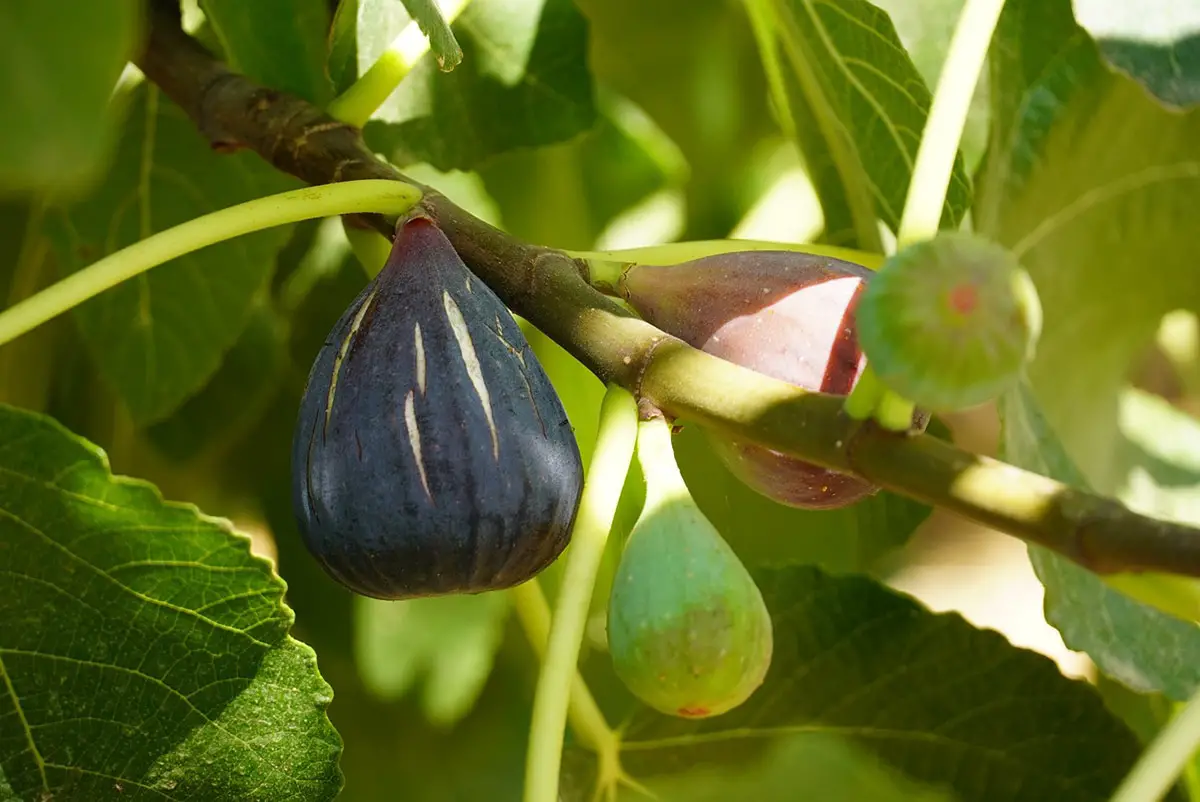
Now that we know what the grafting technique is, it should be said that it is not usually used to propagate fig trees, since it is much easier and more effective to multiply these trees by cutting a branch and planting it directly in the ground. However, fig grafts are usually done to gather different types and thus obtain a tree that produces different varieties of figs.
These vegetables tend to react well to this technique, so the result is usually successful. Although it is true that there are several different methods, the most used is the so-called “whip and tongue graft”. Next we will discuss how to graft a fig tree step by step:
- Choose the host: It can be either a branch of our fig tree or a cut piece.
- Choose a descendant: It is important that it be the same size as the host.
- Prepare the host: Using a very sharp knife, we have to make a cut of between 2,5 and 6,3 centimeters, tilting the edge downwards. The cut should be deep enough so that we can see the inner green part that is under the bark.
- Create a “language”: In the host we must make a cut, again inclined downwards, starting it approximately one third of the way up, based on the initial cut. As a result we will obtain a piece similar to a tongue, hence the name.
- Remove stem: Now it’s time to cut a piece of the fig tree that we want to graft on the host. Ideally, you should have at least three buds that are beginning their formation. We must cut a piece of about 10 to 15 centimeters long and remove the leaves it has.
- Create a “tongue” on the stem: You have to do it in the same way as with the host, but in this case we must tilt the cut upwards.
- Fitting the stem to the host: The next step is to fit the stem into the host, right on the inner green part. It is important to align it well. We must be careful not to extend the end of the scion too far from the end of the host, as this could result in the appearance of a callus when the graft begins to heal, thus impairing growth.
- Wrap both pieces together: Finally it remains to wrap the two pieces with a transparent tape, which in some places is known as tree tape. After a few weeks, when the graft has already taken effect, it is time to remove the tape.
When is the fig graft done?
Once we are clear about how to graft a fig tree, it is extremely important to know when to do it. Choosing the right time of the year is essential for this technique to be successful. The ideal is to graft trees in spring. During this time, the vegetables are in full sprouting and growth, which will favor this technique. We can also carry out this task at the end of summer, sometime in August. However, the graft that we do so late will not develop new shoots until the following spring.
With all this information on how to graft a fig tree, we only have to get down to work. If we do it right, we will get different types of figs from the same tree, which is very advantageous in several aspects.