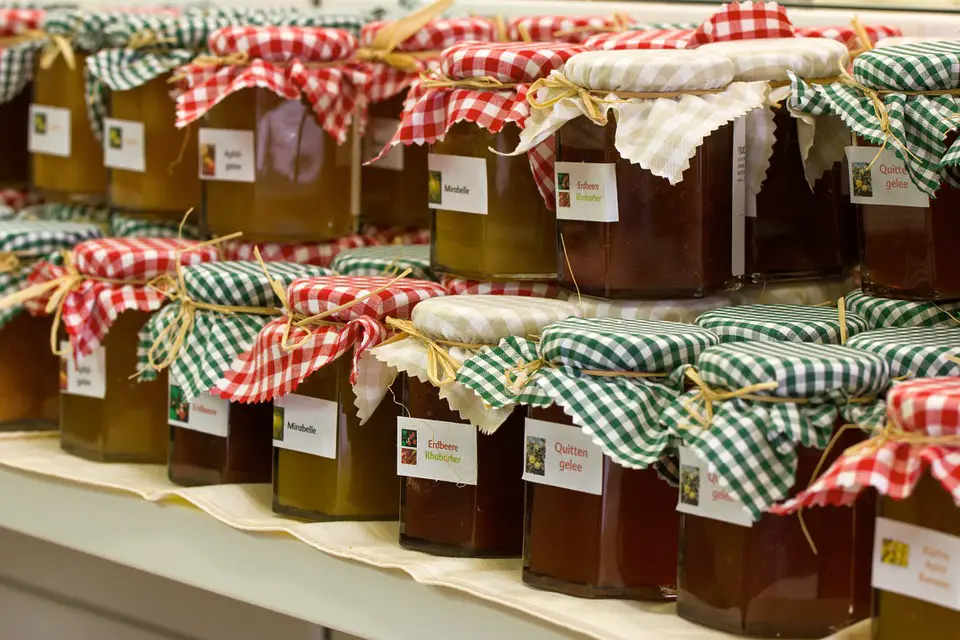
Quince is very fragrant, tasty and healthy. But it is very difficult to handle – the fruits are like stone. And from this dense fruit it is difficult to cut a seed nest, and even more work if you dare to peel it. But its jam, compotes and jelly are hard to resist. Therefore, you can love and hate quince at the same time. But still, we recommend that you try making quince jelly. Also in this article we will show you how to simplify the work with this golden fruit.

Council 1. To work with fresh quince, just chill the fruit a little in the refrigerator. After this procedure, the pulp will be cut like butter.
Council 2. To avoid peeling, rinse the quince thoroughly, toss in a saucepan and add enough water to cover it. When the fruits are soft enough, refrigerate them and then pass them through a large-hole colander. In this way, you will rid the fruits of the seeds that were in the hard shell. Put the resulting puree on the stove and continue cooking until it thickens.
Ingredients for quince jelly:
- 500 g pulp
- 400 g sugar

Cooking:
- Cut the peeled quince into quarters and cut out the seed nests.
- Fill with enough water to cover the fruit.
- Boil until the quince starts to fall apart.
- Prepare a puree without lumps from the cooked fruit.
- Weigh the resulting mass.
- Add 400 g of sugar per pound of pulp.
- Cook on the stove while stirring, because the mass sticks to the sides of the pan,
- Cook until the color turns golden brown.
- To check if the puree is ready, form it into a tight ball.
- The cooking process ends when the ball solidifies, retaining its shape.
- Pour the warm mass onto a baking sheet, lay out 1.5 cm thick and cool.
- Dark, shiny jelly with a sweet and sour taste has a very rich taste.
- Cut it into squares and store in a cool place in parchment paper.
- Quince jelly is ready. Enjoy your meal!
See also: pumpkin puree with ginger
Published: 14.11.2019
