As an organic gardener, I attempt to keep weeds away without using chemicals. But hand weeding is tough work! That’s why I prefer a technique called solarization. When done correctly, it is often an efficient method for controlling bermudagrass, johnsongrass, vinca, nutsedge, some sorts of bindweed and lots of other garden weeds. However, it’s not very effective on weeds with rhizomes or specialized roots which will re-sprout even after being subjected to high temperatures. Solarization has also been shown to be effective in controlling many soil-borne diseases, nematodes, and other soil-dwelling pests. almost like boiling water to sterilize it, super-heating the soil with this method can kill much of the bad stuff living within the soil. Solarized soil can get as hot as 140 degrees within the top two inches, and 100 degrees at 18 inches deep. Since the soil will insulate itself deeper down, this method works best for seeds and pests living within the top six inches of the soil. Unlike the non-organic soil sterilization technique of fumigation, it doesn’t kill mobile soil dwellers like worms, because they will wiggle away when the soil gets too hot. It also doesn’t kill beneficial microorganisms that thrive in higher heat, like some mycorrhizal fungi and therefore the helpful bacteria found in compost piles. Using a number of equivalent principles of a hot compost heap, solarization also breaks down organic matter within the soil more quickly, making it an especially useful gizmo when done just after growing a manure crop like Soil Builder Mix. This method is often used at any scale, whether you’ve got a little backyard garden or an outsized market farm. It also works on raised beds. it’ll only be effective in areas with full sun. It is often utilized in any latitude and elevation, although it works best in hotter climates. Solarizing only your beds rather than the whole field further increases the effectiveness.

Steps to Solarizing
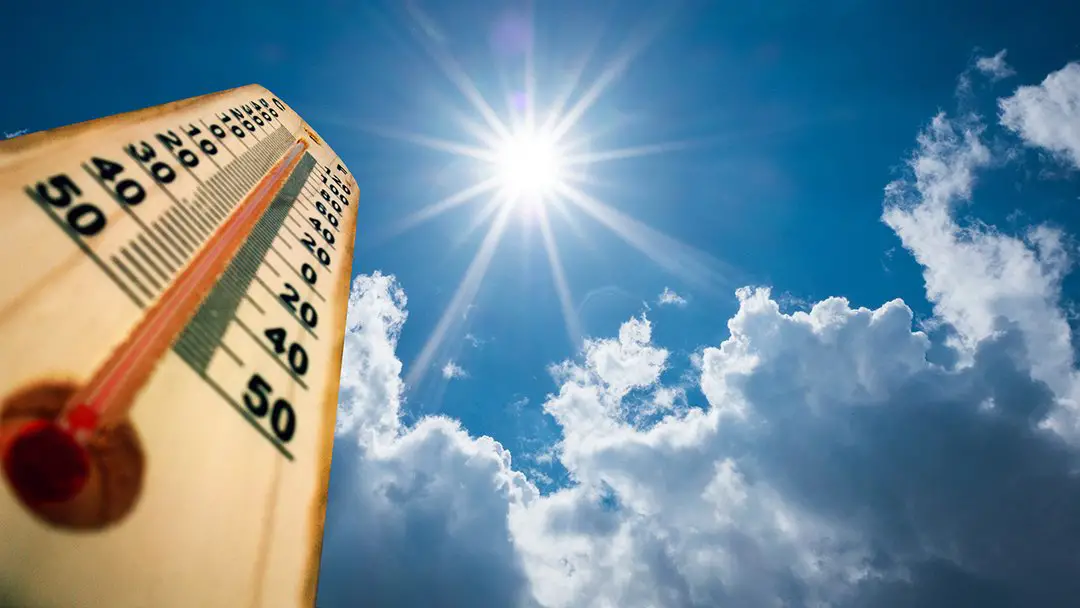
Choose the longest, hottest days of summer so as to heat the soil the maximum amount as possible.
While some pests could also be killed within the first few days, you ought to decide to leave the plastic on your soil for 4 to eight weeks, continuously, for it to possess the utmost effect.
First, hamper and take away or till altogether plant matter.
Rake the soil and take away any clods or debris.
You will get to make the bed as flat as possible in order that the plastic cover is in close contact with few air pockets, then that nothing will poke through the plastic cover.
Irrigate well, because wet soil conducts heat better than dry soil and also makes soil weeds and pests more vulnerable. Your soil should be moist to 12 inches depth. you ought to not remove the plastic to re-moisten the soil once you begin solarizing it, so confirm it’s sufficiently moist but not muddy once you start.
Layout a bit of clear poly greenhouse plastic directly on the surface. In most areas, one layer of clear plastic is sufficient, however in areas with cool summers you’ll get to use a double layer of clear plastic with spacers like PVC pipe in between the layers.
Bury the sides of the plastic in the soil to make a solid seal around the entire edge. make certain to hide the entire perimeter alternatively heat will escape through the gaps.
The goal of solarization is to take care of a daily maximum temperature of a minimum of 110 degrees Fahrenheit within the top 6 inches of soil. you’ll check this temperature with a soil thermometer poked through the plastic. After 4 to six weeks, or 8 weeks in cool areas or when handling difficult pests and weeds, remove the plastic. you’ll plant in your garden immediately for a fall harvest, or if planting a lawn. When planting, attempt to disturb the soil as little as possible so you don’t accidentally bring viable but dormant weed seeds to the surface where they might then sprout. So bake those weeds away, and grow organic for life!
