
Good afternoon! How’s it going? Today Saturday I have dedicated myself to transplant a climbing plantSpecifically, a bougainvillea that I bought last week and urgently requested a larger pot.
I will explain the step by step so that you can transplant yours.
Material
The first thing to do is prepare everything that we will need, is:
- Volcanic is going
- Pot about 40cm in diameter
- Substrate with perlite
- Watering can
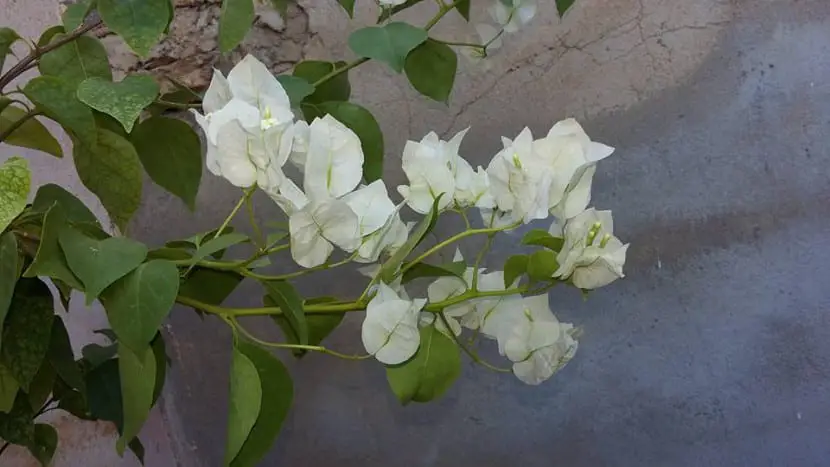
- And of course the plant
Step by step

We will start adding a layer of volcanic clay inside the pot, thus ensuring that the water drains quickly, preventing the substrate from remaining flooded.

Then we fill with substrate almost completely the pot, leaving between the surface of the edge and the most superficial layer of the substrate the distance corresponding to the height of the pot in which our climber is now. In other words, if the height of the »old» pot is 10cm, there must be 10cm between the edge of your new pot and the surface of the substrate.
![]()
![]()
We can check that the plant fits without problems introducing it in its new pot.

If it is correct, we take it out and plant it. The tutors I recommend that you leave them, since once planted, you just have to take them one by one and insert them inside so that it is securely attached.

As it will weigh a lot later, before watering we will place it in its final place. In this case, the idea is to climb the wooden planks, in order to get a shady corner, so it has been located in a corner. As the stems grow a little longer, they will be attached to the first plank.

And now, we water abundantly, leaving the substrate very moist.
Was it interesting for you? If you have any suggestions, feel free to comment. Have a good night!
