Hello everyone! how was your weekend? Is it hot in your area? It’s been a long time around here, and that’s being noticed a lot, especially in the trees. Some of them have stopped due to high temperatures. But it has not been the case of the elm . This plant is very resistant to both cold and heat, and only ceases its activities in winter, when its leaves have fallen.
Today we are going to talk about pinching , a job that can be done throughout the vegetative season to ensure that our future bonsai is fuller of branches and, consequently, also of leaves.

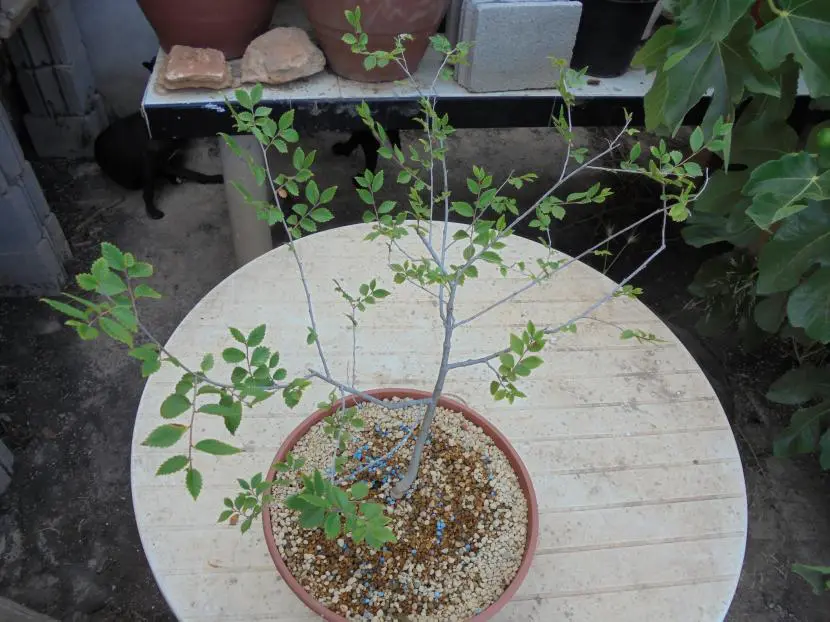
If we look closely, the branch on the left is the one that is right in the center, and therefore the main one. Normally, whenever we have a tree like this, that is, with two branches that are growing very long, at different heights, we will have to leave one that is the main one, which will serve as a guide. This is the only one that can have a greater development than the others, which will be shorter.

Thus, as if it were a hairdressing job, if possible, we join the two branches to see how much we have to cut, and with clippers we make the cut (if not, it will be enough to move a little away from the tree, and calculate »by eye» how much to remove). The cuts have to be beveled , that is, slightly inclined.

We have it cut. As you can see, the cut has been made very close to the lower twig . Well, it’s done this way for aesthetics, and also to prevent more shoots from appearing on the branch that we don’t want.

How to get the tree to have more foliage? As we are in the middle of the vegetative growth season, it is achieved by pinching the leaves.

We will remove between 1-2 pairs of leaves from each branch. It may take time, but in the end it will be worth it.

And, by the way, you can also take the opportunity to pay . Combining a very porous substrate and fertilizer, we are getting the trunk to thicken , which is nice to see.