
Very good days! How did you spend the weekend? Today I propose a somewhat peculiar topic, since I am going to talk to you about a Christmas plant … Yes, I know, we are in July, but if you have followed our advice to survive the most endearing season of the year, you are probably wondering what care does the poinsettia need in summer.
In this article you will learn how transplant itAs cut it. Two jobs that are recommended to be done during the summer season, to get a plant that is equal to or more beautiful than the one that came home the first day.
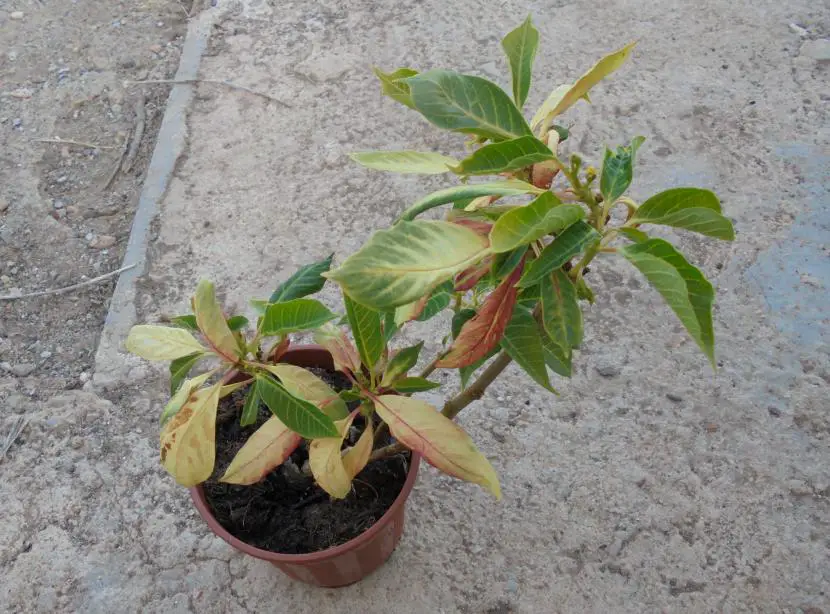
Transplant
First we are going to focus on the transplant. The Poinsettia is a plant of tropical origin, and as such, the change of pot, or the definitive planting in the garden should be done when the temperatures are above 20º. To do this, you will need:
- Flower pot: I recommend that it be twice as wide, since it is a plant that grows very fast.
- Black peat: It is preferable that it is mixed with perlite, but it is not essential.
- Volcanic is going: ideal so that the roots are not flooded after each watering.
Step by step
Spread a layer of volcanic clay

The layer will have to be about 2-3cmdepending on the depth of the pot, and the characteristics of the peat. Thus, if the pot is very deep – about 35cm or more – and we see that the peat is going to compact, the layer of clay will be wide, so that the water drains quickly.
Fill with peat

We fill the pot with peat.

A trick to know if we have to add more, or on the contrary remove, is to introduce the plant -with the pot-, and check that both pots are more or less at the same height.
Center the Poinsettia in its new pot

We took it out of its »old» pot, and we put it in the center.
We fill with more peat

We miss him peat. It’s already looking different!
Add a layer of volcanic clay (optional)

If we live in a very dry climate, which forces us to water often, the option of add a layer of volcanic clayin order to keep the substrate moist for longer. It is important not to cover the trunk, otherwise it could rot.
Water

Now, we will only have to water and place it in a location where it receives direct sunlight.
Take away the flowers

Finally, we will remove the flowers. Plants spend a lot of energy to maintain them and, although we have not touched the roots, we are more interested in using that energy in strengthening their root system and resuming their growth.
Cutting

What do we do with a cutting that we have found or that we have taken from our own plant? Well, let’s explain.
Cut leaves

In a cutting like this, they must be cut all the leaves.
Impregnate it with rooting hormones

Next, we will moisten it with water and impregnate it with rooting hormones.
Plantation

We will use a very, very porous substrate. For example, volcanic clay or perlite alone. Thus, we will avoid the presence of fungi, which could kill the cutting in a matter of days. You must bear in mind that you do not have to add the substrate and then introduce the cutting as you would place a tutor, but rather you must first put a layer of volcanic clay (or the material you have chosen), place it in the center and finish filling.
Put healing paste on it

Finally, it will be left to put healing paste and water. Place it in a place protected from the sun, and keep the substrate moist. If all goes well, in 1-2 months it will start to take out new leaves.
With these tips, now you will know how to take care of your precious poinsettia throughout the yearnot just at Christmas; a few months to spend as a family with the company of this spectacular plant. But … you will also be able to enjoy it this season, in summer.
If you have unsolved doubts, contact contact with us .