
For lovers of growing and gardening at home, the manufacture of their own seed ribbons It represents a double saving (time and effort) when sowing and that is to arrange the seeds in an organized way on a paper surfacetaking care and guaranteeing its adequate distribution and distance between one and another for its subsequent sowing, either in our private garden or in larger areas, will save us time and money.
It’s important pointing that the distance between one seed and another of the same type is already determined in the instructions of the package that we are going to use, in this way we do not worry about important details such as sowing depth and it is worth saying that these tapes are usually biodegradable material with which we would be taking care of the earth, in addition to saving time.
How are homemade seed tapes made?

We are going to need materials like household paper or paper napkinswheat flour or cornstarch (to make the glue). It is also valid to use newspaper and / or some organic coloring.
We begin with glue preparationquite simple since it consists of placing in a container enough water to boil mixed with a little flour or cornstarch, once it begins to boil you have to go stirring little by little with the help of a trowel or spoon until the consistency is of a thick sauce.
Once it is at room temperature, it is poured into a more suitable container for later use.
We proceed to prepare the paper stripswhose recommended width is about 4 cms., since the paper is going to be folded later, we then cut them to the indicated width and depending on how we need it, since we must remember that it is to our liking and need.
We proceed to place a little glue one end of the width and on the glue we place the seed, without ignoring the instructions of the seed package regarding the distance between one and the other; We do this along the entire length of the strip and once we are done, the other end of the width of the paper is folded up to cover the seeds and let them dry.
We are ready for the sowing of the tapes

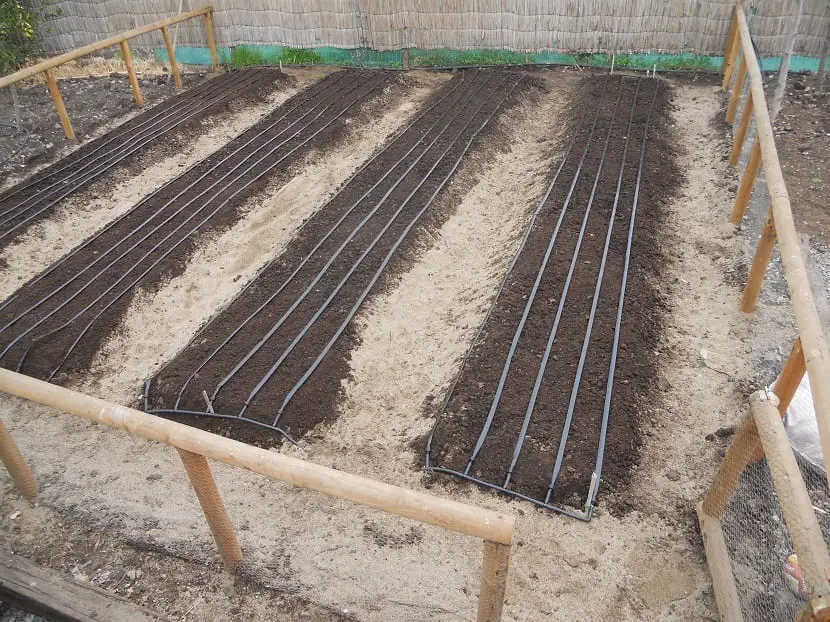
Once the tapes are ready, we proceed to plant them, it is a fairly simple procedure, but you have to Pay attention to the details and it is that we have the space destined to the placement of the seeds, unfolding the ribbon of seeds on the ground, and then proceed to place the amount of enough land that covers the need for depth depending on the case, we make sure to seat well, making sure that there is contact between the seeds and the soil above and belowFinally, we proceed to moisten, taking care not to scatter the soil, unprotecting the seeds and it is that with the necessary care, in the next few days we will be able to enjoy the germination of our plants.
Unlike store-bought tapes, making our own allows us to choose which plant is the one we want for our gardenIf it is to our liking to insert between two or more types of these whose needs for depth, distance, humidity, lighting requirements, etc., are related.
Another benefit to which we will give a lot of value, is to save moneysince the tapes that we find in stores are not so cheap, but they can also bring many more seeds than we are really going to needin such a way that wherever we look at it we are economizing.
Well, we have learned in very few steps how to make the seed tapes for be used at homegarden or orchard, with the plus that they are biodegradable, useful, quick and easy information to be put into practice as soon as possible.