Hydrangeas, more popularly known as hydrangeas, are shrubby plants originating in the American and Asian continents, characterized by the spectacular beauty of their inflorescences in white, pink, or blue tones. They are especially popular plants in Japan, Korea, and China, although they are actually grown as ornamental plants all over the world. However, despite their beauty, hydrangea care can be somewhat demanding when it comes to the soil, and it is very common to find these plants in poor condition because they do not have the soil they need.
If you want to learn how to transplant hydrangeas to be able to take them to an ideal location for them, join us in this article.
When to transplant hydrangeas
Unlike what happens with pruning, in which you must wait until the plant is in vegetative rest to minimize the health risk for the plant, a transplant will have better results if it is carried out when the plant is active and strong. .
In the case of hydrangeas, this best time occurs in early spring, since the plant has come out of vegetative rest and has the energy to get into its new habitat before the suffocating summer temperatures arrive and subject it to greater stress.
If the climate is not particularly cold in your area, you can also try transplanting in late winter. This is an especially recommended practice when it comes to transplanting bad hydrangeas that have been drastically pruned to rejuvenate them. The plant will take longer to adapt to the new environment, but in return, pruning will be less damaging and its root system will not suffer as much either.
Tools for transplanting hydrangeas
Ideally, you should always have tools that are as sharp as possible and properly disinfected before cutting or cutting. If you’re just transplanting a whole plant, you probably won’t need to prune anything unless some part is in bad shape. You will probably need a shovel and gardening gloves if you do not want to get your hands very dirty, they do not need to be protective since these plants do not have spikes or harmful substances that irritate.
The next thing, and also the most important thing, will be to prepare a pot large enough if you are going to put it back in a pot, or the soil area of the garden, and also prepare the substrate or soil in which you are going to transplant your hydrangea. Hydrangeas are acidophilic plants, that is, they need acidic soils to develop properly. The pH of the soil in which the hydrangea is found must be between 5.5 and 6.5, or in the long run, the plant will experience difficulties in obtaining its nutrients, and signs of chlorosis will appear. At this point, it is important to emphasize that, although hydrangea flowers can change color Depending on the acidity of the substrate, it should always be grown in acidic soil, or you will experience health problems in the long run.
Thus, get substrate for acidophilic plants, or fertilizer that acidifies the soil. It is also possible to use products such as sulfur or iron sulfate, always in measured quantities, to acidify the soil. A more natural way to do this is to apply a mulch with pine bark, which will also achieve great results.

How to transplant hydrangeas step by step
Here are the steps to successfully transplanting a hydrangea :
- The first thing will be to prepare the soil or substrate in which we are going to place the plant. Use a mixture with a substrate for acidophilic plants or previously acidified and, if possible, very rich in organic matter, since the plant will need a large amount of nutrients to adapt to its new habitat and flourish in due course. The vermicompost is, as always, one of the best options.
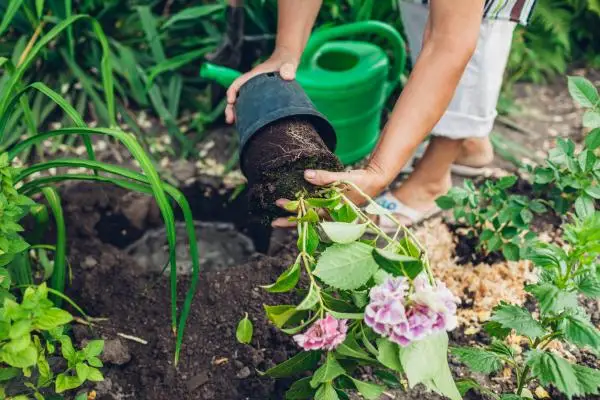
- Take the cuttings or seedlings that you want to transplant. If you have to remove the plants from the ground, do it very carefully not to damage their roots. If they are very caked due to being an old plant, try to loosen them as much as possible with your hands and with care. In addition, during the transplant, make sure that they are in good condition and the soil as well, if you see or suspect that there is rot, you will have to prune the parts in poor condition and not water the plant for several days, and if you see or think there is fungi or other parasites you will have to apply an appropriate treatment.
- Place the plant in its new soil and remember to cover the roots and the base of the stem well with substrate so that it holds well in place. It is important to take into account that the pot must be larger than the previous one, as well as that the first days you place it in the shade so that the sun does not stress the plant while it acclimatizes.
- Keep the humidity in the first days, watering frequently but always without flooding, wetting the soil and not the plant.

Caring for a transplanted hydrangea
A newly transplanted hydrangea is especially delicate until it has been moved to its new location, so be particularly careful with it. Follow these tips:
- Give it a location sheltered from semi-shade, protected from direct sunlight but with some natural lighting.
- Keep the substrate moistened with frequent waterings, but not too abundant so as not to drown the plant. It is always better not to wet the leaves when watering.
- Check the acidity of the soil to make sure it is right for your hydrangeas.
- Depending on the amount of lime that the tap water has in your area, it could make the substrate too alkaline if you water with it. It is always recommended to use rain or mineral water when watering hydrangeas so that this does not happen.
