
Source_A green room
As you know, some plants need support in order to grow and develop new roots. We can find these in stores, but sometimes they are not the most recommended. How about we teach you how to make moss stakes?
They are not difficult and you can make sure that they will indeed be nutritious for your plants. In addition, you can make variations to improve the quality of life of your plants. Shall we start?
Why use moss stakes

Source_Amazon
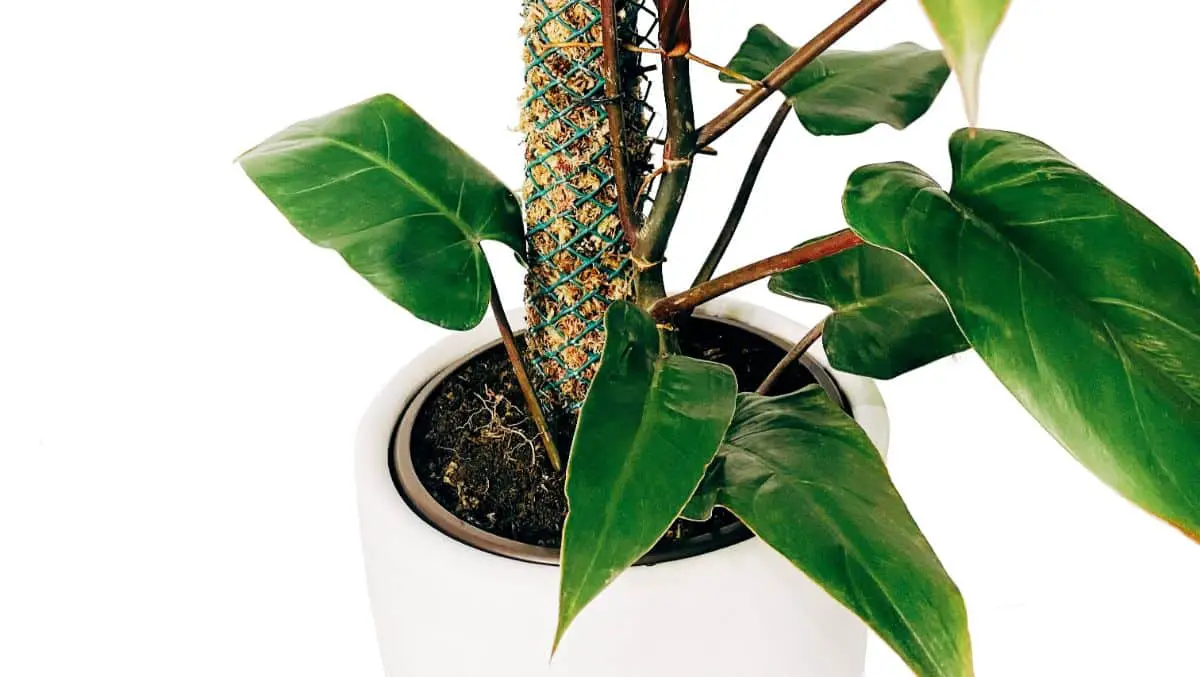
As you know, moss stakes are made of moss. And this helps plants to develop new roots with which they are fixed to that support and can continue to grow. In fact, sometimes the plants do not grow because they do not have that tutorwhich causes the plant to stagnate and, over time, can cause the plant to weaken or deteriorate since it has not put out new leaves.
Another reason why you should use moss stakes is because many plants, especially epiphytic climbers, need to develop aerial roots and these require environmental conditions that you may not be able to provide on your own (for example, constant humidity ). That’s why, these stakes can be quite a useful means for the plant to get what it needs.
There is a big difference between using a tutor or not. We are going to make it easy for you. Think of a pot. When it is pendulous the branches are long and it has leaves, but not too big, rather they are kept to a small or medium size.
On the other hand, when a tutor is placed, it is normal for the leaves to be much larger and stronger; besides that its growth will be greater.
What plants need moss tutors

Fuente_The plant store
The truth is that giving you a list of plants that need moss stakes would be very long. But overall, many of the tropical plants would be very comfortable with a moss stake, especially if it is fresh and if you can water it and that it stays humid all the time, because that way you will get that environmental humidity that the plant needs.
Some of the most common that would need it would be the following: monstera deliciosa, minima or adansonii, philodrendron, potho…
How to make moss stakes

Fountain_Gardening plants and flowers
Now yes, prepare the elements that you are going to need because we are going to teach you step by step how to make moss stakes for your plants. We already warned you that it is not difficult at all, but you will have to dedicate some time to it.
The advantages offered by making your own moss stakes are many. To begin with, you will have a tutor made by yourself in which you will know for sure what it takes. In addition, the moss will be fresher, quite the opposite of those that we find cheap in stores that are not easy for the plants to “fix” and take root.
Prepare the elements
When making moss stakes you must take into account the following elements:
- Sphagnum moss It is the most recommended, especially because it is capable of retaining a lot of water and thus helping the plants with humidity (especially so that the aerial roots develop better).
- A stick. Wooden if possible, but if you have bamboo much better. Of course, a stick that you have is not worth it, you need one with a medium or greater thickness, especially if the plant is large.
- Sisal thread or natural rope. It will help you tie the moss to the stick. This is characterized by being thin but very resistant.
- Container.
- Agua.
- Scissors.
- Gloves.
With all this you will have everything to start making the tutors. Now, you may want to make alternatives to this tutor. And it is that many also choose to make moss tutors by throwing earth as well (earth such as humus, peat, earth rich in fertilizer, compost…). When done like this the wooden stick is fine, but you also need a wire mesh to seal it and thus be able to introduce the earth and the moss so that nothing escapes.
Step one: the moss to the water
When you buy Sphagnum moss, it is normal for it to come dehydrated, so the first step you should take is to hydrate it.
For this, you have to take a containerfill it with water and put the moss inside. This will make it grow, so don’t take a small container, but a larger one.
You will have to wait about 20 minutes for it to fully hydrate.
Step Two: Prepare the Stick
Next, and while the moss is hydrating, you can take the stick and check that it is okay (that it does not have signs of any disease or pest). Once done, take the thread and tie it at the top of the stick. This can be done with a knot or, if you have silicone handy, you could use it to fix the rope at the top so that it does not slip away in any way..
Make sure you have a surface that the stick will fit well on, and that you protect it (perhaps a tablecloth or something similar) because when you start working with the moss it’s going to get wet.)
Step Three: Assemble the Moss Stakes
You already have the stick ready. And you have the moss. So now we just have to get down to work.
To do this, take a little moss with your hand and drain it a little so that it leaves the water. You have to take enough to be able to surround the stick with it since the objective is to fill the stick with moss and fix it with the thread.
At first it will be complicated, but as you get practice with it, the process will be much easier and faster.
You have to do this along the entire length of the stick except for the final 20-30 centimeters, which are left empty because it is the way to settle it in the pot or soil of the plant so that it does not move.
It is true that the layer of moss that you will put will not be very widebut rather narrow. But that does not mean that you cannot put more and more layers of moss along the length of the stick to make it thicker (and especially so that the plant has more space to attach itself to it).
And ready! This is how moss stakes are made. Do you dare to try now?
