Have you ever tried hominy or its cousin grits? How about corn tortillas or tortilla chips? If so, you’ve got enjoyed the flavor and nutrition that comes from the cooking technique called “nixtamalization”: soaking corn in lye or pickling lime, a process that has been used for over 3500 years. The resulting corn product, called regionally by the names of hominy, big hominy, posole, or nixtamal, is loaded with benefits that standard untreated corn can’t provide. Nixtamalization loosens the hulls to form the kernels easier to digest and releases the vitamin Niacin in order that our bodies can utilize it. Traditionally, it had the extra perks of preventing spoilage from insects and mold and keeping the kernels from sprouting in storage. Plus, it just makes corn taste fantastic. Making hominy may be a time consuming but worthwhile process. There are countless variations of the method we’ll describe here, and you’ll get to make adjustments while you prepare it counting on what sort of corn you employ, how hot your lime water is when cooking, etc.

Step One: Gather Your Corn
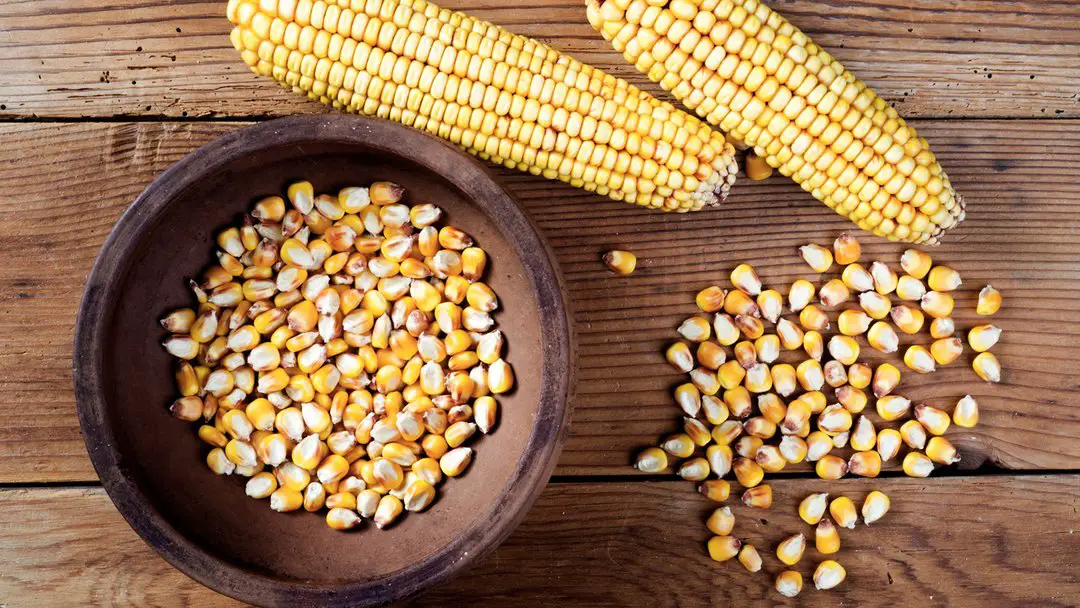
If you grew your own dry corn, like Hopi Blue Dent or Glass Gem, start by shelling the kernels and removing any chaff.
Discard any broken kernels also, because they’re going to swell too quickly when soaked within the lime water.
You can also purchase dry corn, and even popcorn kernels are often wont to make hominy. the larger the kernels the higher.
In the South, white corn is most ordinarily used, whereas in other parts of the planet yellow and blue are popular choices. Use what you’ll get, any color will work.
Whatever variety you select, don’t use seed grain. Kernels intended for your garden haven’t been stored or treated during a way that’s safe for eating, and sometimes are treated with toxic chemicals.
Step Two: Get Your Lime
No, we don’t mean a yummy little green citrus! Nixtamalization requires lye or lime dissolved in water. Traditionally, this lime water was made by adding ashes – which contain lye – to a bucket or clay pot filled with water. Another traditional method, still commonly utilized in Latin America, is to use calcium hydroxide which is formed from limestone. calcium hydroxide is out there in Hispanic markets where it’s called “cal.” Nowadays, though, you’ll most easily find a special kind called pickling lime or food-grade lime. it’s usually available wherever canning supplies are sold, or online. this is often the type of lime the subsequent steps utilize.
Safety First When Using Caustic Materials
Before you proceed, confirm that you simply have all the equipment you’ll need.
Lye (and pickling lime) is extremely caustic and may burn your skin, so it’s an honest idea to wear gloves and goggles when handling it.
It also will react with aluminum, so you’ll get to use non-reactive pots and tools, like enamel or porcelain-coated pot and a wooden or plastic spoon.
It is best to use an oversized pot for the quantity you’ll be making, in order that you don’t accidentally splash yourself when stirring the lime water.
Step Three: Soak Your Corn
This step is that the most controversial that way is best. Traditionalists prefer the slow method, which takes a full extra day (sometimes three!). most of the people, though, don’t have that kind of your time to devote to the art of hominy and like a quicker approach.
Making the Lime Water
For the slowest process, make the lime water first.
Simmer 10 cups of water to a non-reactive pot, then stir in 1/4 cup of lime.
Once it’s dissolved, cover and take away from heat.
Allow it to take a seat for five hours, at the highest of which there’ll be a skin on the top of the water and solids settled to the rock bottom of the pot.
Place a mesh (not metal) strainer or an outsized paper filter over another non-reactive pot (or a crockpot, if you’ll be cooking the hominy this way).
Slowly decant the lime water through the filter to get rid of the solids.
Most people don’t make the lime water first, but this ensures that you simply don’t have any undissolved lime solids in your final hominy, which could end in an off-flavor or upset tummy.
Adding the Corn to the Lime Water
Add 2 cups of corn kernels.
If you select to not pre-make the lime water, heat water with the lime, stir to dissolve, then immediately add the corn.
Traditionally this was left to soak without heat for each day or two until the ideas turn dark and therefore the kernels swell. However, you’ll speed up the method by bringing the corn and lime water just to a boil, then removing from the warmth and letting rest, covered, for 2 hours or overnight.
Don’t let the corn actually cook at a boil, or it’ll end in a bitter off-flavor.
Some cooks don’t bother with taking the time to soak their corn before cooking, but doing so will reduce the cooking time needed and improve the flavor of the hominy.
Step Four: Cook Your Corn
The key to cooking hominy is to slowly simmer the corn until it’s done. you can’t rush this step, or the flavor is going to be off. Traditionally, this was wiped out a clay pot or (post-colonization) a forged iron kettle over a fireplace. you’ll probably want to undertake a more modern approach, either within the over, on the stove-top, or during a Crock-Pot. Whichever method you select, you’ll bring the corn and lime water up to a slow simmer. you ought to just barely see movement within the water or a couple of small bubbles, and if you check the water temperature it’ll be around 190°F. Simmer the corn until it’s done. counting on the variability, whether (and how long) you pre-soaked it, and the way hot your lime water actually gets during this process, this might be as little as a half-hour and the maximum amount as five hours. once you see the cellophane-like hull fall away but the ideas are still attached, it’s time to see for doneness. Use a wooden spoon to scoop a couple of kernels, then rinse them well to get rid of the surplus lime water before tasting. The kernels won’t all cook evenly, so you ought to taste several kernels to work out if it’s done. If they’re done, the feel is going to be slightly chewy but with no hard centers. Undercooking is best than overcooking if you’re unsure because you’ll cook them a touch more when you’re able to eat them. Don’t overcook the kernels, because they’ll become over-limed and should even dissolve within the water.
Step Five: Rinse Your Hominy
Once you’ve decided your kernels have cooked enough, you’ve got successfully made hominy! However, it can’t be eaten until it’s well rinsed to get rid of the surplus lime. Otherwise, it’ll taste bad and should even upset your stomach.
You can simply set the recent pot in your sink and slowly run water in it to flush away the hulls and lime.
Or, you’ll pour the hominy into a non-aluminum colander and rinse.
You may want to also soak the hominy in clean water for five minutes.
The amount of rinsing and time for soaking (if any) is hotly debated by hominy aficionados, but generally speaking more rinsing and therefore the full five minutes of soaking is best in terms of flavor and safety.
And now, some cooks will remove the darkened tips from each kernel; this is often generally accepted as not being necessary but will improve the aesthetic appearance of your hominy, especially if you’ll be eating it whole.
Step Six: Store or Prepare Your Hominy
If you’ll not be eating your hominy directly, let it cool to temperature then store it in an airtight container or bag. It is often stored within the refrigerator every week or the freezer for 3 months. you’ll also dehydrate the kernels until you’re able to cook them. To rehydrate, just simmer them in water until soft.
Making Grits, Masa, Corn Nuts and More!
To make grits, run your dehydrated kernels through a kitchen appliance until they’re coarsely ground. to form masa or cornmeal, you’ll grind the hominy freshly cooked if you’ll be using it directly for tamales or tortillas, otherwise you can grind the hominy once you’re dehydrated it for future storage. to form corn nuts, fry the freshly cooked hominy until they’re golden and crunchy. There are many other wonderful ways to eat your hominy or masa also, like tamales, tortillas, atole (and atole de chocolate), champurrado, pozole stew, hominy bread, mote, Jamaican polenta, rockihominy, and tlacoyos.
3 thoughts on “How to Make Hominy and Grits”