
If you are considering planting calla lilies, I can assure you that it is a good idea. It is a fairly simple plant to grow and care for, either in pots or in the garden soil. The sturdy bush produces delicate and precious flowers with little effort on our part. Depending on the region in which we are, the coves receive different vernacular names. Among them are water lily, jug flower, gannet, cartridge, and some more. However, it only has a single scientific name, which is Zantedeschia. Its entire genus is originally from South Africa. Even so, these flowers are grown all over the world today.
Calla lily bulbs bloom in the hottest season of the year – summer. These vegetables are pretty and lively herbs that come in various varieties with different colors and sizes. However, they are not exactly bulbs, if not rhizomes, although they do look very similar. This similarity is due to the fact that the root of these plants is an underground organ with which they are able to vegetate during the winter season. As soon as spring begins, the coves begin to sprout again.
How are calla lilies grown?

Now that we know a little more about these curious plants, let’s find out how to plant calla lilies. They are characterized by forming abundant and very dense roots from a single underground stem that receives the name of rhizome. As we have already mentioned previously, this organ allows them to vegetate during the coldest time of the year to finally be able to re-sprout in spring.
In the event that you want to plant calla lilies in a pot, it is very important to choose a container that is deep and large. Also, it should have enough holes for the water to drain properly and not pool at the bottom. On the contrary, if your intention is to plant calla lilies directly in the garden soil, you should bear in mind that they have to be located in a place where the soil is quite deep and can drain well. Ideally, the rhizome should be buried in such a way that it is covered by two to three fingers of substrate.
In order to multiply or reproduce these planting, it can be carried out by seeds. However, it is much more effective at separating the young bulbs that are created at the root. The ideal season to perform this task is in the fall. This is when it is time to cut all the leaves and let the calla lilies hibernate. When we do this, we can take the opportunity to extract the young rhizomes and plant them again.
What type of soil do coves need?
Before planting any plant, it is very important to find out about its needs, giving special importance to the type of soil or soil that is best for it to develop. In the case of coves, it is best to the soil or substrate is cool, light and very humid.
If you want to plant calla lilies in pots, it would be best to choose a substrate that contains peat. It is a spongy, light charcoal with an earthy appearance. This is usually formed in swampy places due to the decomposition of plant debris. Also if you are considering growing calla lilies directly in the garden, It is highly recommended that you incorporate peat into the soil. Remember that calla lilies need a lot of humidity in order to grow and develop properly. A good idea is to plant these vegetables on the edges of a pond.
How to care for calla plants?

Once you have finished the task of planting calla lilies, it’s time to maintain and care for them. In principle, if they have enough humidity, these plants can grow quite well in full sun. Nevertheless, the ideal place for the coves is a partially shaded place. This small detail is very important in those regions that are warmer and in which there is little humidity in the environment.
Regarding the temperature, the coves prefer those that are slightly warm. The ideal degrees Celsius for them range between 14 and 20. Although they are capable of hibernating when the thermometer reads around zero degrees, even slightly less, calla lilies cannot survive severe frosts.

Related article:
How to take care of the coves
Another important aspect to take into account when caring for calla lilies is irrigation. As we have already mentioned above, these plants need the soil to be slightly damp. In addition, it should be noted that they require a lot of water when they are in the flowering period. Once all your flowers have withered, which is usually almost in autumn, you can start to reduce the waterings and in winter you can suspend them completely. It’s time to start this task again when spring begins.
Regarding the fertilizer, the coves prefer generous doses of organic fertilizers, such as for example humus or manure. This will make it easier for them to re-sprout in spring. Subscriber frequency should be approximately every 15 days when they are in the flowering season. When autumn begins, it is best to stop fertilizing the calla lilies so that they enter their winter rest.
When are calla lily bulbs planted?

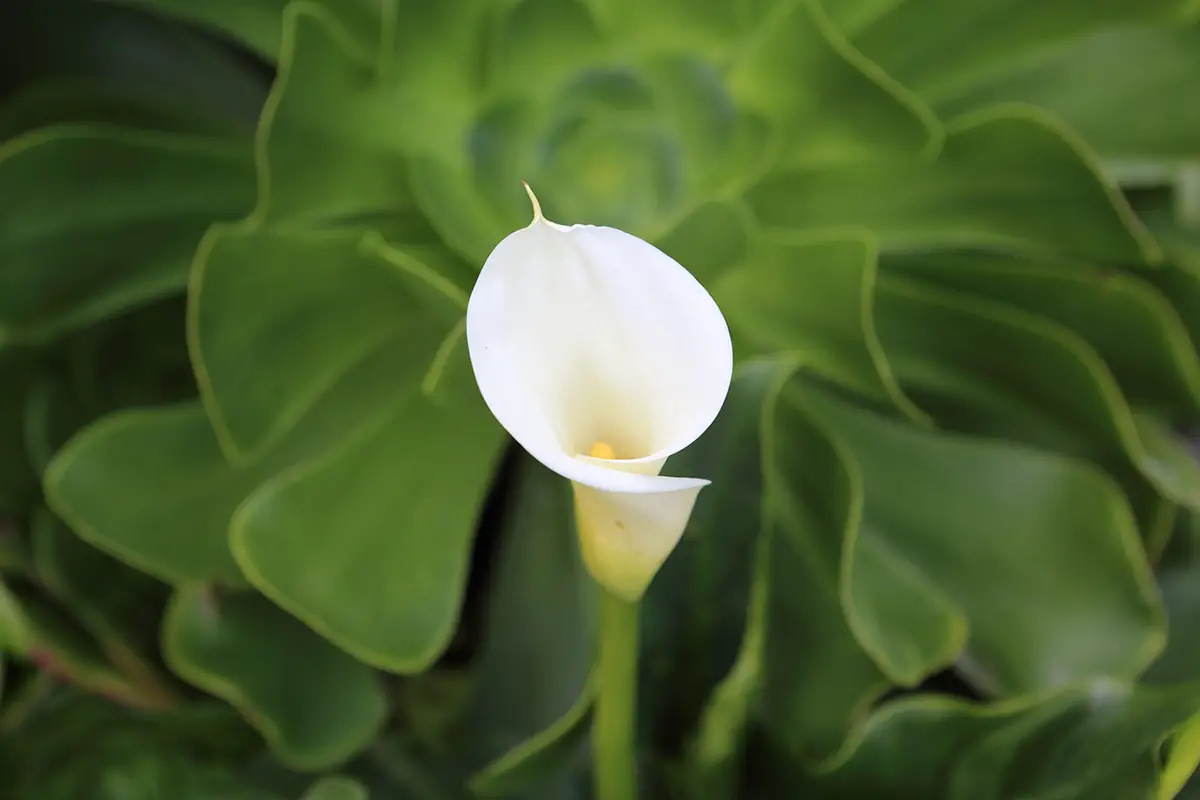
The best time to plant calla lilies is in spring. So you can enjoy its beautiful flowers throughout the summer. You can plant them in your garden to make it more beautiful or in pots to decorate your terrace or balcony. It should be noted that the flowers of these plants, apart from being precious, have a very pleasant aroma. The most common are usually white. However, you can find them in other colors such as yellow, purple, pink, and also some shades in between. The choice of color is based on taste.
Now that you know how to plant calla lilies and how to care for them later, you just have to get down to work and enjoy their beautiful flowers, either in the garden or in pots. Without a doubt they are the perfect vegetables to decorate the home without having to invest a lot of time in its maintenance.
One thought on “Plant Calla Lilies: How and When to Grow Them and Aftercare”